Pages

Showing posts with label Etsy. Show all posts

Monday, August 4, 2014

Weeping Angels and Rainbows

I haven't been feeling very well the last few weeks. My depression is acting up, and I think I got some accidental gluten.

That doesn't mean I haven't kept busy! When I was feeling really down I somehow managed to convince my husband to go to the local yarn store, The Needlepoint Joint, and pick out some yarn for me. Reason #545 why my husband is the best, he hates yarn stores.

It worked! I was cheered up and I turned that yarn into a hat and mittens.


They're very soft and very cheerful. I haven't blocked anything yet, when I do the lacy pattern will show up better. I found the patterns on Ravelry, they're called the Cafe Au Lait Tam and the Cafe Au Lait Mittens (expanded from the Cafe Au Lait Mitts.)

I call them my Rainbow Tam and Rainbow Mittens. You can check here for the project page on my hat, and here for the mittens. I'm not 100% done with the mittens yet. I am going to knit a lining for them so that they're extra warm. I plan to use them for driving the kids to school on cold winter mornings.

I've also managed to do my nails. I trimmed them super short again, and wasn't up for being super creative. I decided to just swatch the Weeping Angel polish I got from A'dor Beauty Supply when I bought the other two polishes that I love.


This one didn't disappoint!!

I couldn't help but use my new hat as a background. 

It's got a grainy texture reminiscent of stone (just like a real Weeping Angel) in a pretty silver color. There are also some subtly iridescent flecks of glitter. Not nearly enough to be overwhelming, just enough to be fun! This is another polish I bought for my daughter but fell in love with!


Pictured is two coats (I probably could have gotten away with one, but two looks better) over my normal base coat. I didn't do a top coat because I didn't want to ruin the texture. It's been a few days since I polished them and so far I haven't had any chipping.


Sunday, May 25, 2014

Harry Potter Nails

It was one of the things that got me started on the road to nail polish addiction and I've tried four times to get it looking decent.

I finally pulled off Harry Potter inspired nail art. *Cue the angelic choir.*


I did striping on my left hand. I used two pieces of nail striping tape to mark off the area, then I pulled the tape off right after I added the accent color.


When I was done I knew I'd never get the tape straight on my right hand so I did dots on my right. I really can't decide which I like better.


My thumbs have the symbol for the Deathly Hallows.

I went by the colors in the books. If it isn't in the books, on Pottermore, or from an interview with J.K. Rowling herself... Well then it just isn't true. There are lots of fun things in the movies, but I don't take them as true canon. For today that just means that Ravenclaw colors are blue and bronze, not blue and gray or silver or light blue or whatever that is in the movies.

I spent a lot of time looking for good colors. I wanted them all to compliment each other and have the same slight metallic sheen. Here's the breakdown of what I used:

Pinkies are Slytherin, green and silver. Green is Sinful Colors 926 HD Nails and the silver is Wet 'N' Wild Fast Dry 236C Silvivor.

Ring fingers are Hufflepuff, yellow and black. Yellow is Sinful Colors 928 Let's Meet and the black is Sinful Colors 933 Secret Admirer.

Middle fingers are Gryffindor, crimson and gold. Red is Wet 'N' Wild Wild Shine 463 Jezebel and the gold is Sally Hansen Complete Salon Manicure 110 Wedding Glitters.

Pointer fingers are Ravenclaw (YAY!!!), blue and bronze. Blue is Wet 'N' Wild Wild Shine 443D Bijou Blue and the bronze is Revlon Parfumerie 100 Autumn Spice. Quick note about Autumn Spice, it smells. After it dries it has an autumn spice perfume that lasts as long as the nail polish is on my hand. It's weird, but not unpleasant. I looked for months to find a polish in the right shade of bronze. There are plenty of copper polishes out there, but bronze is hard to find.

My thumbs are done in white, Sinful Colors 112 Tokyo Pearl, and Deathly Hallow nail decals from Nail Thins. I used the original, regular sized ones since I was using them on my largest nail.

All my fingers have two coats of OPI Natural Nail Strengthener as a base coat and one coat of OPI Top Coat to finish it off.


Sunday, April 27, 2014

April Showers Nail Art

I'm pretty proud of this nail design.

Yesterday was a rainy day, so I did my nails a day early and realized how appropriate it was to the weather.


French tips done with two coats of Wet 'N' Wild Wild Shine 443D Bijou Blue using Nailene Perfect Tips French Polish Guides. Then I painted one coat of Sally Hansen Hard As Nails Xtreme Wear 180 Disco Ball. 

To get the glitter fade I painted one coat of A'dor Beauty Supply Tears of an Angel over the top 3/4 of my nails.

The stickers I use to get the curved line for a French Tip tend to peel up any polish underneath, so this look has no base coat. I did do one layer of OPI Top Coat, but I think I'll probably add at least one more for durability.


I'm really pleased with myself for this look. I've been looking at lots of nail art on Pinterest, and I think this looks at least as good as most of the professional stuff I've seen! Not to toot my own horn or anything. Oh, and my right hand looks just as good as my left!!

I think I'm going to do a similar look for my daughter later today, if I can pin her down! If I manage I'll be sure to post more pictures.

Sunday, April 6, 2014

Nail Stripes

I tried out my new nail striping tape today.

Boy, is this stuff fun!!

For some reason I have really shaky hands, so painting straight lines is hard for me. The tape takes all the trouble away. I can paint wobbly stripes out of polish and then put the tape across the edges and hide all the mistakes. Or I can add perfectly straight racing stripes with no painting at all!!

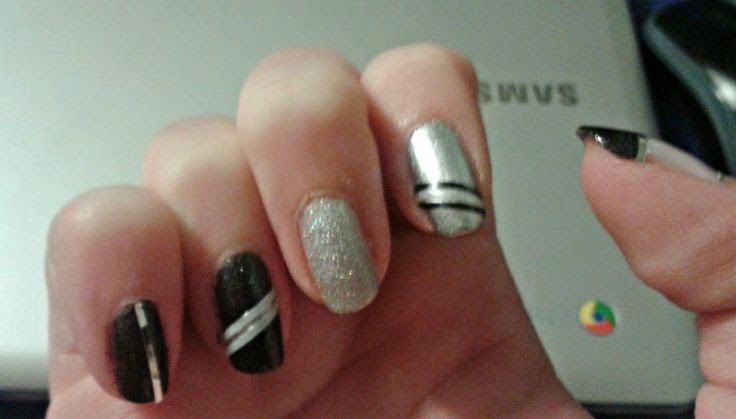
I did Betty's nails tonight and decided that each nail should be different. Betty's kind of a rocker girl so I went with black, white, and silver. I actually drew out the design before I started painting, that way I knew what I was doing and could paint each layer at a time.


I did one coat of OPI Natural Nail Strengthener as a base coat on all her nails.

On her pinkies I did two coats of Sinful Colors Secret Admirer and a single vertical stripe of silver striping tape. 

Her ring fingers got two coats of Sinful Colors Secret Admirer, then I used one of my tiny paint brushes and painted a diagonal stripe of Sally Hansen Hard As Nails Pumping Iron. I did white striping tape on either side of the silver polish. 

Her middle finger is two coats of Ador Beauty Supply Weeping Angel.

On her middle finger I did two coats of Sally Hansen Hard As Nails Pumping Iron, then I used the same little brush to paint a diagonal line of Sinful Colors Tokyo Pearl. I used black striping tape to outline the white polish. 

Her thumbs were kind of hard. I painted the bottom half with Sally Hansen Hard As Nails Pumping Iron and then the tips with Sinful Colors Secret Admirer. I think it would have been easier if I painted the whole nail with the white and then added the black to the tips. Of course, this occurred to me after I'd already put the polish on the hard way! Thankfully the striping tape hides a lot of flaws!! I put a silver stripe between the black and white polishes. 

The pictures show one coat of OPI  Top Coat, but tomorrow morning I'll add another coat before Betty goes to school. 

Overall I think the experiment was a success and Betty is super happy with how it turned out. Her thumbs are my favorite, I think I'm going to have to do that look for my nails soon! I think it would have looked better if I did the black nails on either side of the silver, but Betty is pleased and that's what's important. Now I know for next time! 


Of course since I was painting Betty's nails, Joey had to get in on the action. His is just one coat of Sinful Colors Secret Admirer, in case you were wondering... 


Monday, March 24, 2014

Northern Utah Fashion Expo

Saturday I had the opportunity to volunteer at a local event here in my amazing town.

A friend of mine, Stephanie, joined up with some other amazing people and put together the very first Northern Utah Fashion Expo. It was a showcase for local fashion and accessory designers, complete with live music and three fashion shows.

I was asked to be the person who welcomed people to the event and handed out swag bags to the first 100 people who came. It was a job I'm made for. I got to chat with a bunch of people, and met lots of new faces. I had a blast!!

I only spent two and a half hours there, the expo went from noon to 8:00 pm. I only stayed for the first part, then came home and crashed. I'm such a lightweight!

Sunday I had a terrible shock. I went to Pinterest, like I do eight or nine times a day... Only this time my home page looked like I'd just signed up! None of the boards I usually follow were there and there was a prompt to start setting things up! I went to "My Boards and Pins" and all my "Followers" and "Following"s were gone! I was freaking out!! I restarted my computer, tried logging out and logging back in, nothing helped!! I shot an email off to the help department and then tried to think about other things.

Thankfully, when I got up this morning I had an email from Pinterest. They suggested clearing my browser and cookies. I did it and like a miracle, it worked! WHEW!!

I would have been upset to lose all my followers, I get a real self-esteem boost every time I get a new one, but I was really upset about losing all the boards I follow. There is no way I would be able to remember all 800 of them! I follow some really great boards and would be devastated to never see them again.

Even that I could live with as long as my pins and boards are still there. It's a bonus to me that people follow me, the most important thing is that I use Pinterest. I use it to organize my recipes, crafts, sewing patterns, shopping lists, so much! I have basically stopped using browser bookmarks. I'm a visual person, so Pinterest is exactly what I need. If I lost my pins I would be completely lost!!

(For the sake of honesty I will say that I do have one board that I curate only for my followers, Long Hair Style Ideas. I started it when I still had long hair and considered not posting to it any more, but I have a bunch of followers so when I find something cute I just go ahead and pin it.)  

Wednesday, March 19, 2014

Nails

Hi.

My name is Heather and I have an addiction.

I am obsessed with nail polish.

I've always liked my hands, and I consider them by far my best feature. They're small and dainty, but my fingers are nice and slim. Usually though, I just leave my nails bare or paint them clear. If I was feeling particularly sassy I might go for a light pink or off white. My nails are kind of soft and polish chips really easily. Chipped nail polish is one of my pet peeves, so I stuck with things that don't show chips easily.

Now that has all changed.

It started with my darling friend Kristin raving about Nail Thins on her Facebook page. I'd seen them on Etsy and even had some saved in my favorites, but wasn't sure about actually buying them. Once I got the endorsement from Kristin (my make-up guru) I just knew I had to try them.

Nail Thins are these little decals that go over your nail polish and come in about a kagillion different designs. I was immediately sucked in with the Harry Potter set. I mean, come on... I had to have those. They are super easy to use, and they look amazing.


Remember how I said my hands are small and dainty? Well, freakishly tiny would also be accurate. The Nail Thins I got were too big for all but my thumbs. (Insert sad face here.) This is not where the story ends though, no way. I messaged Jenny, the Nail Thins lady and mentioned that I thought it would be cool if she offered smaller sizes for little girls and people like me. Not only did she agree that it was a good idea, she also sent me smaller replacements FOR FREE!! Seriously, you guys need to go get some of these.

Anywhoo... The nail thins look cool on their own but they really "pop" when they're applied over polish. The Harry Potter decals got me thinking, and I thought it would be super cool to get blue and bronze so I could have Ravenclaw nails. (Because Pottermore put me in Ravenclaw and we all know that Pottermore is the authority on such things.) One thing led to another and I found myself collecting enough shades to have all the Hogwarts houses. I don't have a picture of my first attempt, because it was such a complete disaster, but I am undaunted and will try again!

The next step to my complete addiction came in the form of more peer pressure. My friend Bethany (who I met through Kristin!) posted on her Facebook about a site called Ipsy.

Ipsy is a really cool subscription beauty service. You fill out a profile on their site, and for $10 a month they will send you a cute little make-up bag with 4-5 different beauty products. I'm going to dedicate a whole blog post to them in the future, so stay tuned for that. The part that's relevant to this post is that in my first bag I got a bottle of purple polish, Odette by Zoya. It's completely unlike something I'd normally buy, but it looked really good with my skin tone. One more step on the road to addiction.


I also invested in some decent base coat and top coat. They definitely add to how long it takes to do my nails, but my manicure now lasts at least a week. When I was just using two coats of polish I'd be lucky if I got two days! Spending time doing my nails doesn't seem like such a waste when I can get it to last so much longer! Plus, having so many coats of polish on my nails makes them stronger. I have far fewer rips and breaks. Such a nice bonus!

Add in all the cute nail ideas I've been finding on Pinterest and you end up with a full blown obsession. I've been to Ulta more times than I'd like to admit, and my polish collection has grown to alarming proportions. I've been having a lot of fun coming up with new polish combinations! I plan to post new pictures when I'm particularly proud of my creations, consider yourself warned. My addiction has also affected my children. Today I forced Betty to sit and let me do her nails! Is there rehab for cosmetic addictions? (I'm actually updating this while she's drying between coats. If her nails turn out cute I'll try and get a picture.)

Even Joey is getting in on the action. He wanted blue nails, so he got blue nails. For the record, I didn't force this on him. He practically begged me to paint his nails while I was doing mine.

This is what my nails look like today. I started with one coat of OPI Natural Nail Strengthener as a base coat. I then did two coats of Essence Color & Go in 146 That's What I Mint! (It might look blue in the picture, but it's actually pale green.)


When that finally dried I did two coats of OPI Let's Do Anything We Want! (Muppets Collection! Woo! Love those Muppets!) This particular glitter polish was rather hard to deal with. There are large white pieces that want to settle to the bottom of the bottle. I had to shake up the bottle between every nail. You can see those white chunks best on my pointer finger in the picture.

The Cardinal Rule of glitter polish is that you want to dab on the first layer of glitter. If you brush it on like regular polish you won't get an even distribution of glitter. So, that's what I did. Once the first, incredibly thick layer was dry I added another layer.

This all took hours. Letting things dry between coats is a total pain, but at least smudges don't show with glitter polish! My normal M.O. is to surf Pinterest while I'm letting coats dry. Thank goodness I can still work my mouse with wet nails!! I waited until the next day to add two layers of OPI Top Coat.

I really like the mint green and pink sparkle. It's got a cheerful, Sprintime-y look that I'm kind of craving right now.


Friday, August 9, 2013

Favorites Friday: Tiaras


There aren't a lot of truly elaborate things I really love. I tend to like simple things, basics, clean lines.
Even in my jewelry, I like things to be simple. I'd much rather have a pair of pearl studs over a pair of glittery chandelier earrings. A simple silver I.D. bracelet over a diamond tennis bracelet, or going completely unadorned to being garish.

Glitter doesn't rule my life. Normally I prefer a soft sheen.

Unless we're talking about tiaras!

A tiara is basically as elaborate as it gets. It is the polar opposite of everyday wear. It takes a seriously special occasion to break out a tiara, and they're seriously pricey, so they're also very rare.

Opulent, over the top, and completely unnecessary, there is a special place in my heart for tiaras.

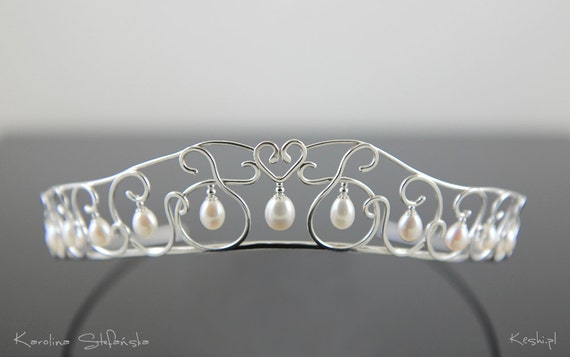
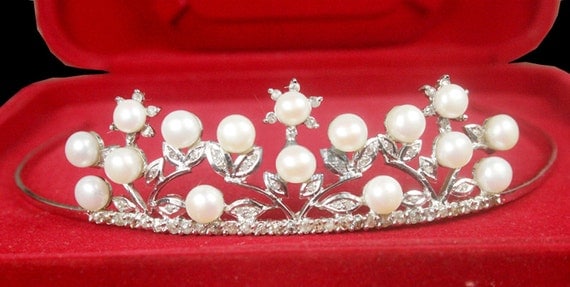
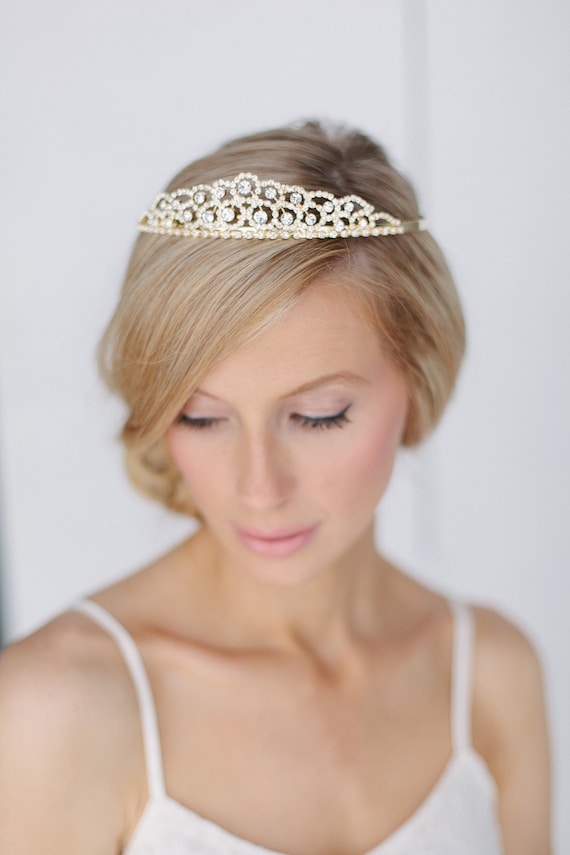
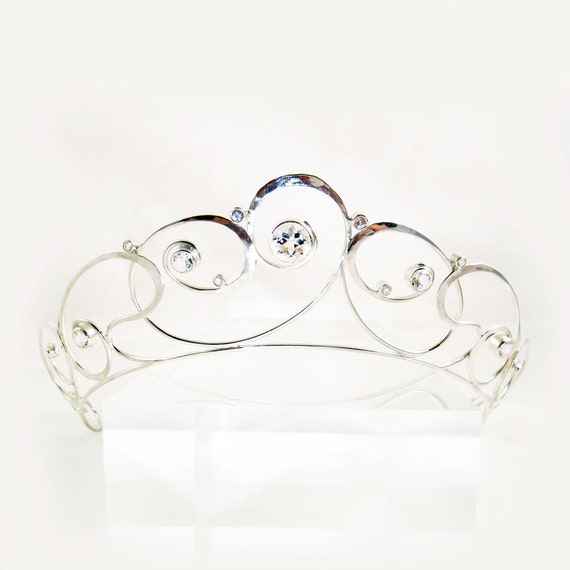
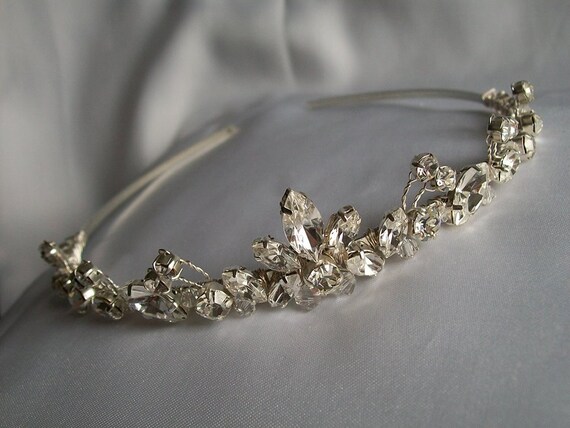
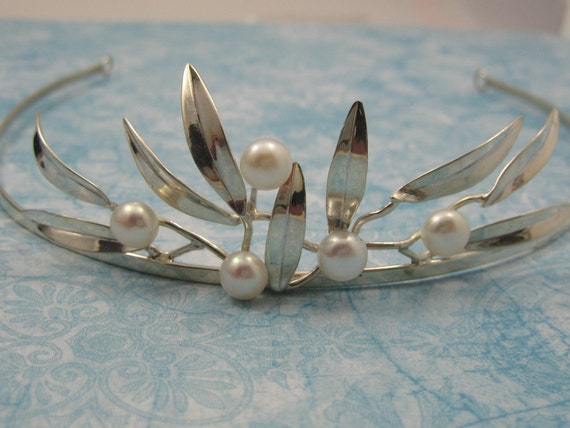
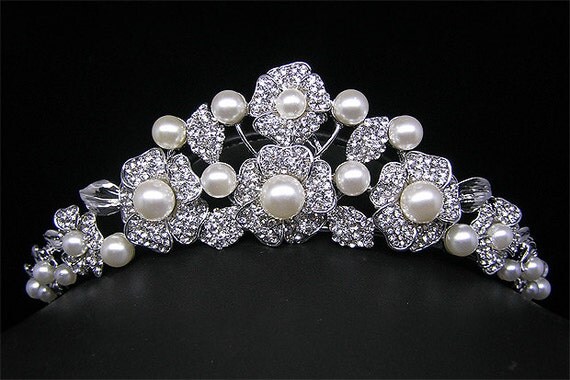
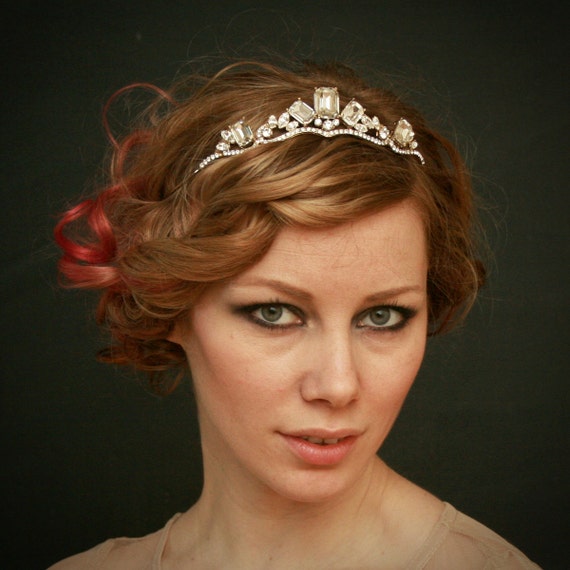
This week I've found a bunch on Etsy for my Favorites Friday. Maybe in the future I'll do a post on my favorite royal tiaras, but for now here's ones you could actually own yourself. Watch out though, these are mostly quite expensive. Don't fall in love only to be heartbroken by the price!

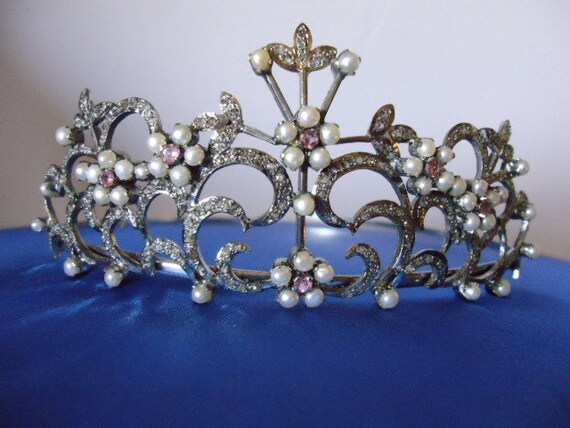
I'm starting with my absolute favorite. I cannot tell you how much I wish I'd found this when I was shopping for my wedding. This tiara is absolutely my idea of perfection.

Isn't it gorgeous!?!!

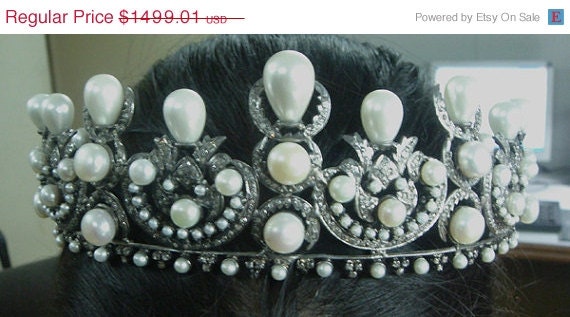
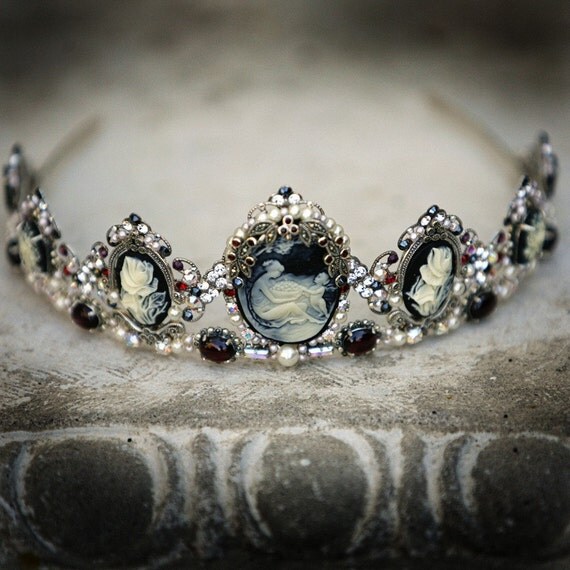
Okay, now that I've wiped the drool off my keyboard, here are the rest of my favorites. In no particular order.


Friday, August 2, 2013

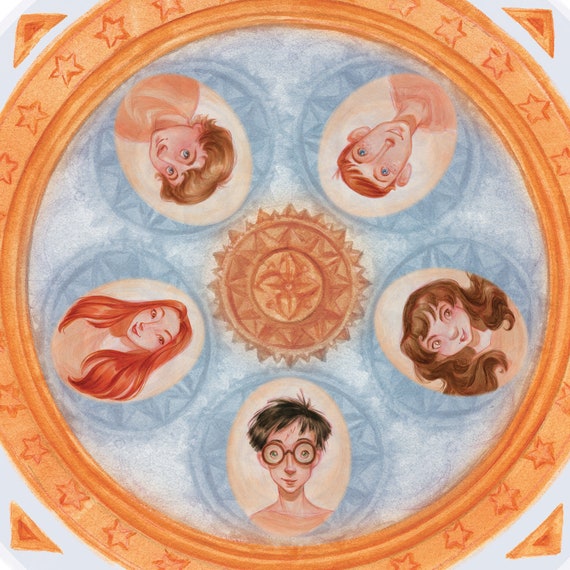
Favorites Friday: Harry Potter!!


There are not enough words to express my love for Harry Potter. I adore those books. I want to live in that world.

I'm a total geek. Midnight launches for books, opening weekend for movies. I have my own wand.

Thanks to Pottermore I know that I am a Ravenclaw, "Wit beyond measure is man's greatest treasure!"

Betty was just sorted, and she's a Ravenclaw too. I could not be more proud. Joshua was sorted a while ago and he's a Slytherin. Not really surprising, he's really competitive. I even forced Eric to be sorted, he's a Hufflepuff! When Joey starts reading I'll get him sorted too. If he's a Gryffindor we'll have one of each house in the family!

Wednesday happened to be Harry's Birthday. Jo Rowling's too. Neville's was on Tuesday.

Like I said, I'm a total geek!

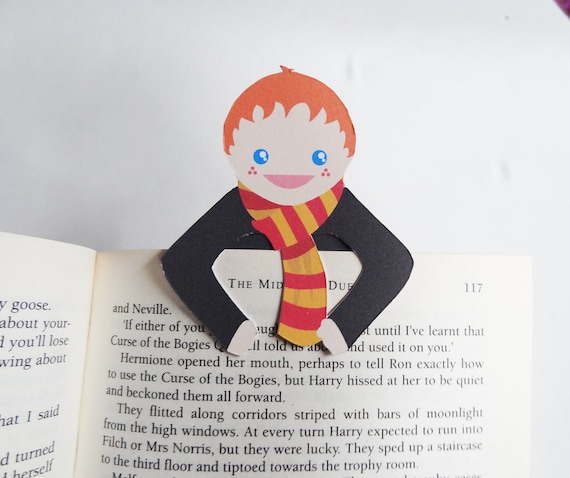
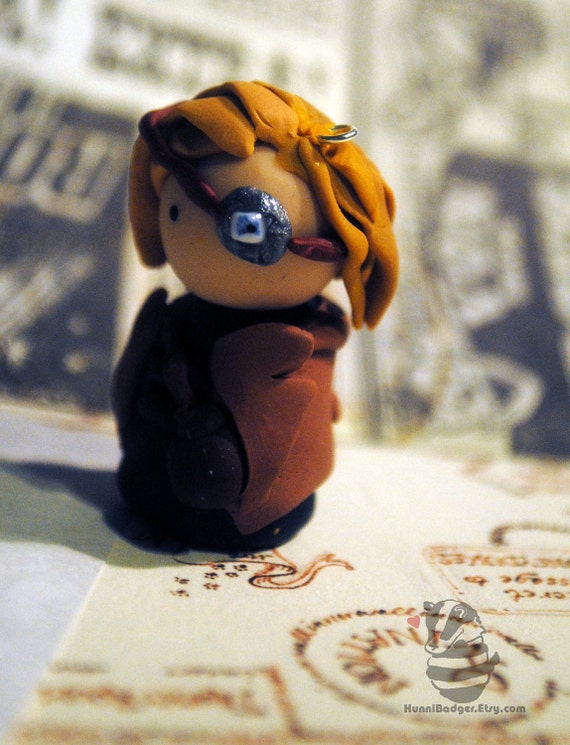
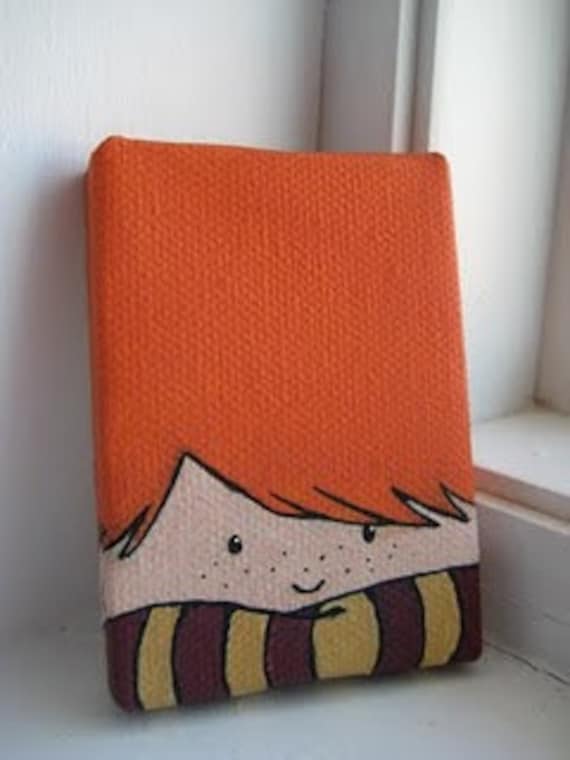
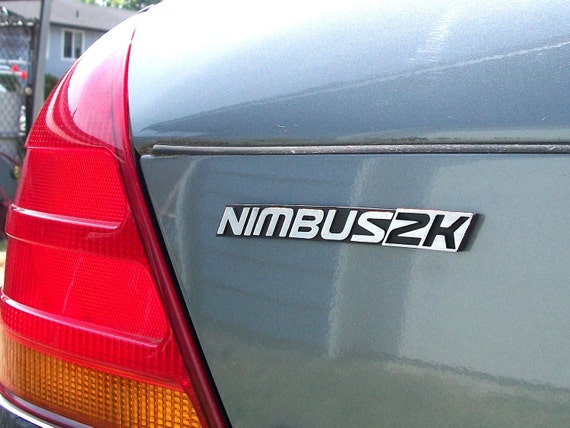
In honor of Harry Potter and the amazing world that Jo Rowling created, this week's Favorites Friday is all about Harry Potter Wizarding!

(I apologize in advance if these are a little heavy on the Ravenclaw, most come in the other houses too. I think you can see why I'd be a little biased! I also kind of have a thing for Ron...)


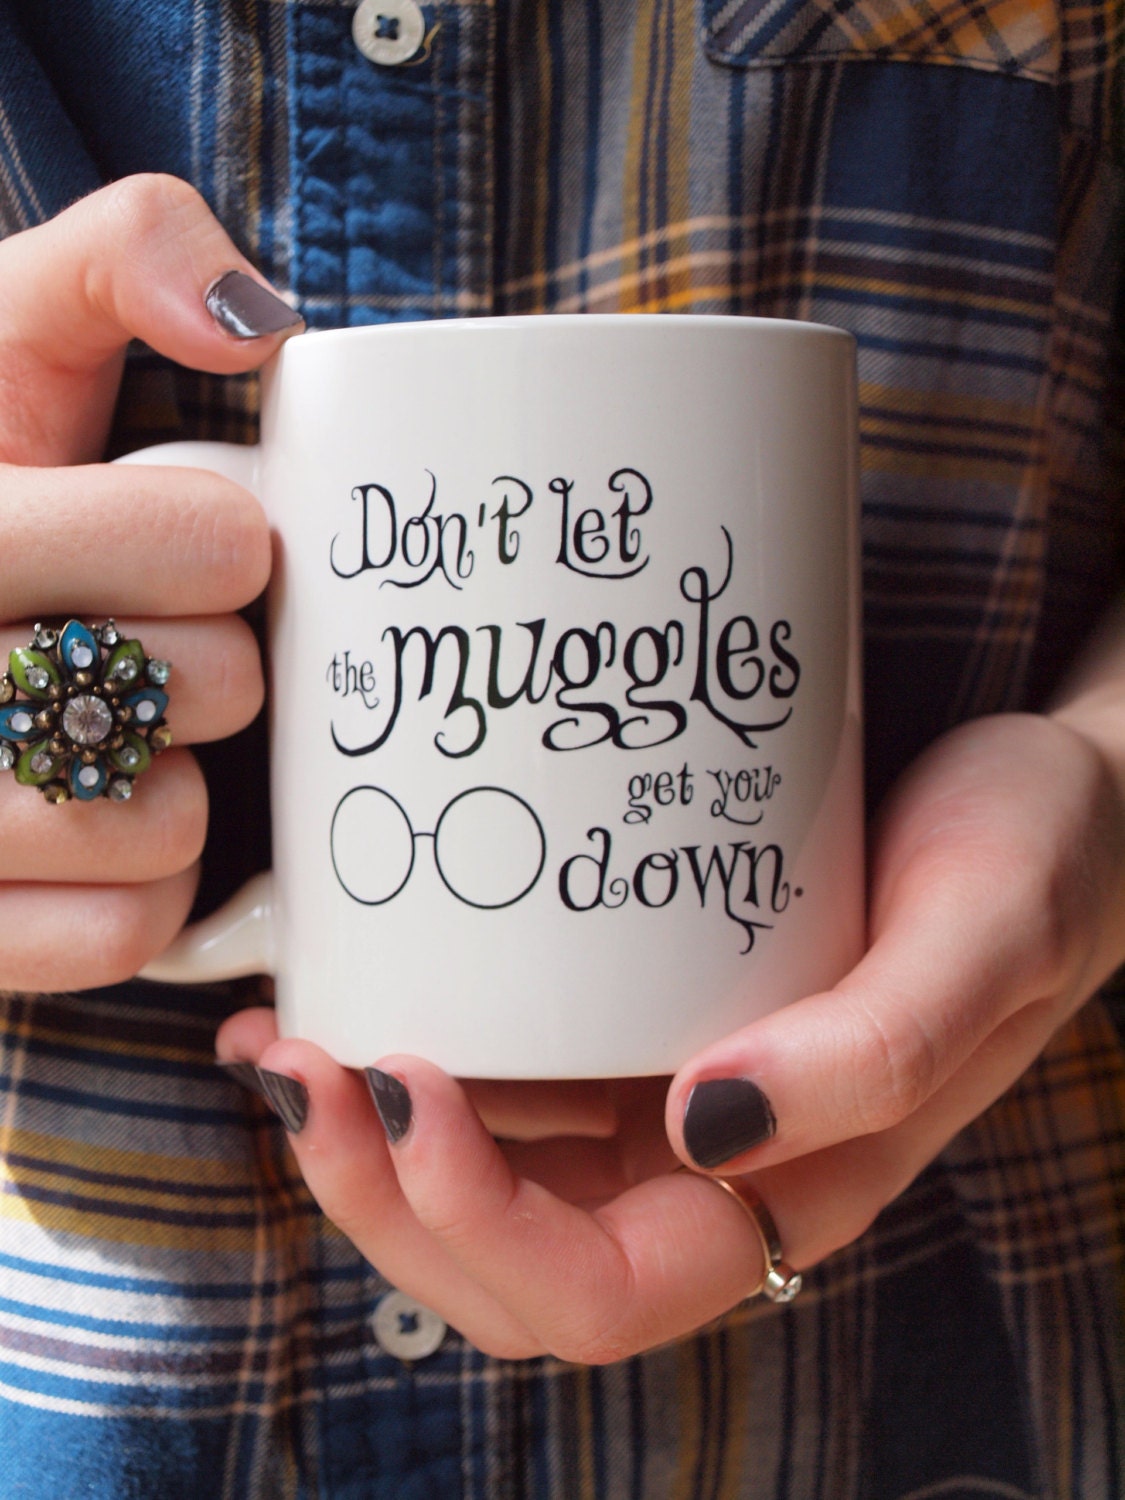
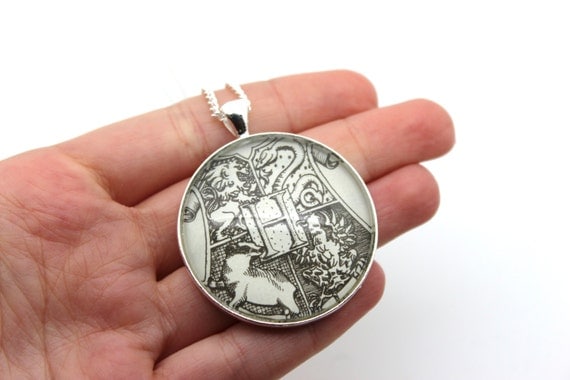
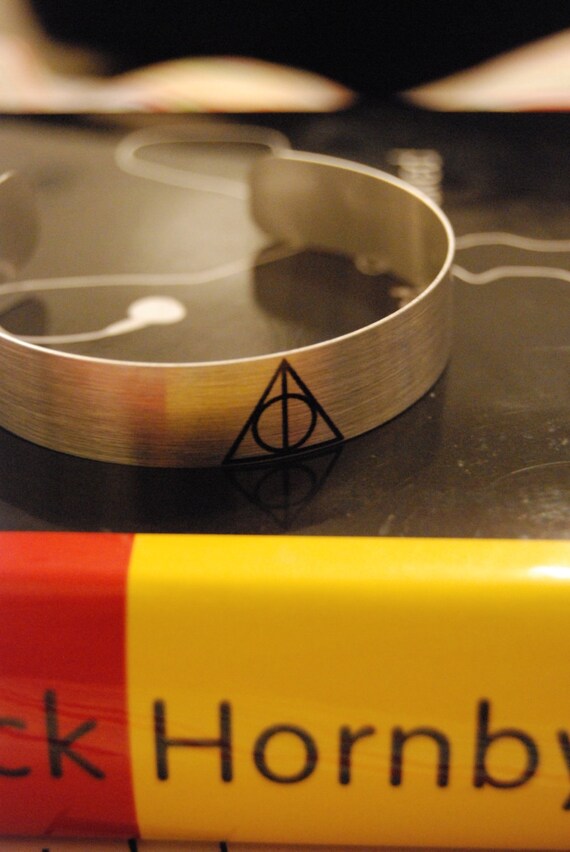
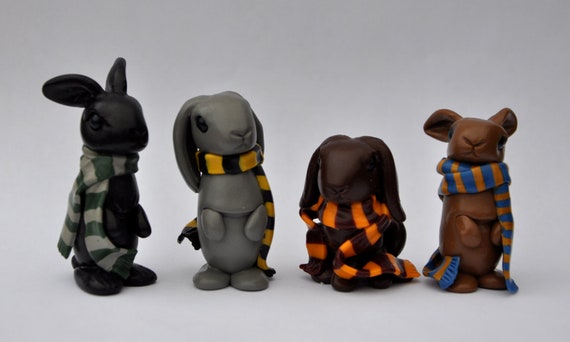
These are just a few of my favorites. I didn't even have to go looking for them, they were already in my Etsy Favorites list. This is only a fraction of the ones I've found. I may just have to do another Favorites Friday dedicated to my favorite books!


Friday, July 26, 2013

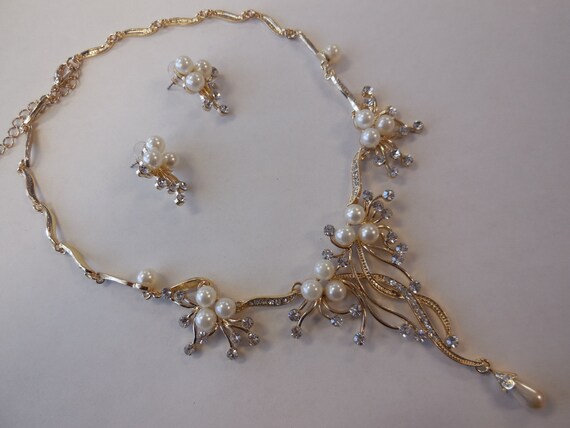
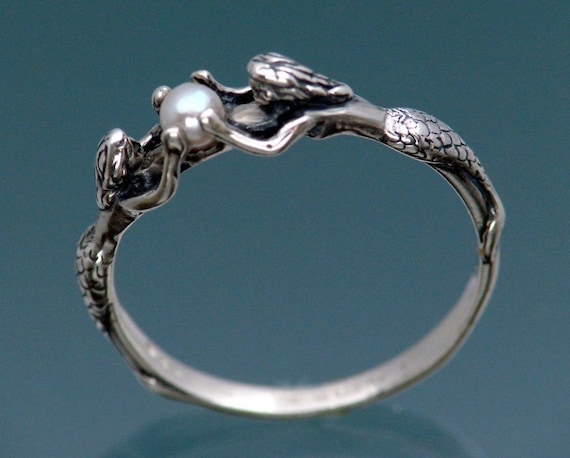
Favorites Friday: Pearls


I love pearls. I think they are so elegant and classy. As you can see from my profile picture, I have a small collection. Of course, the ones in that picture are faux. I do have some real ones too.

I also like the way natural pearls are made. A mollusk gets something irritating under their shell and turns it into something beautiful.

That's something I try to keep in mind. I look at the irritations in my life and try to see the good in them, or how I can change them into something good. It doesn't always work, but I think it helps with my overall state of mind.

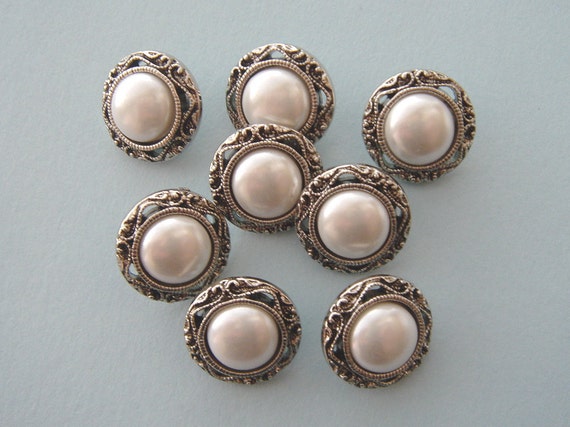
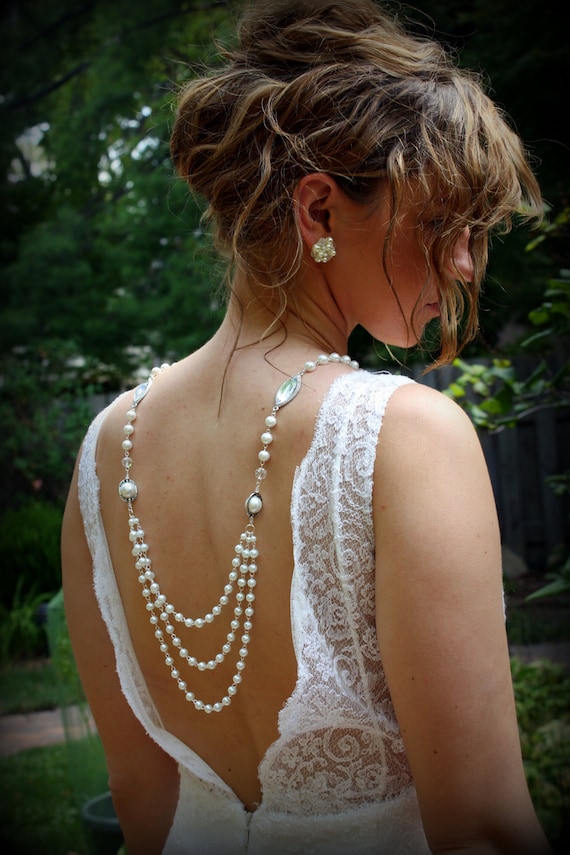
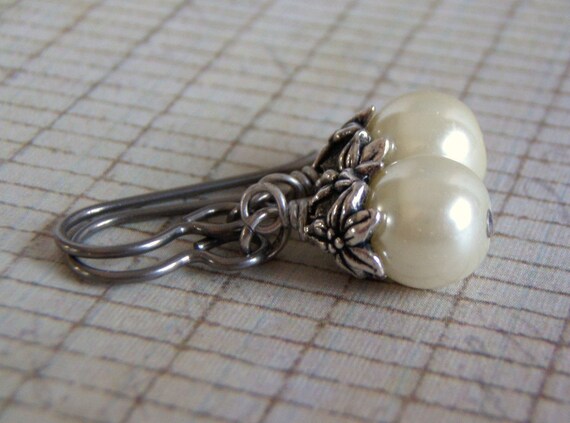
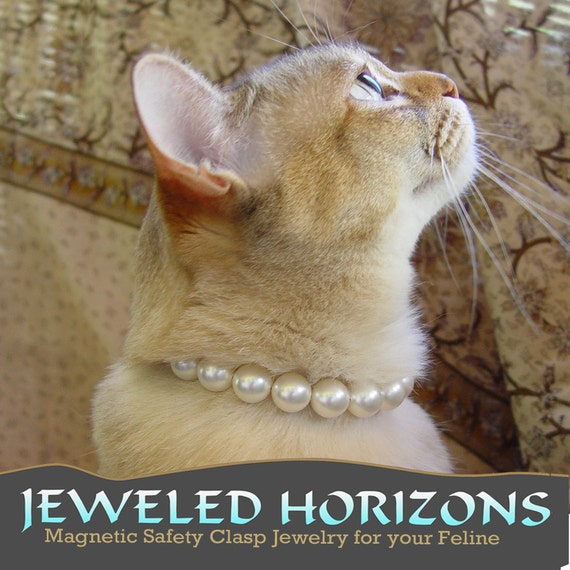
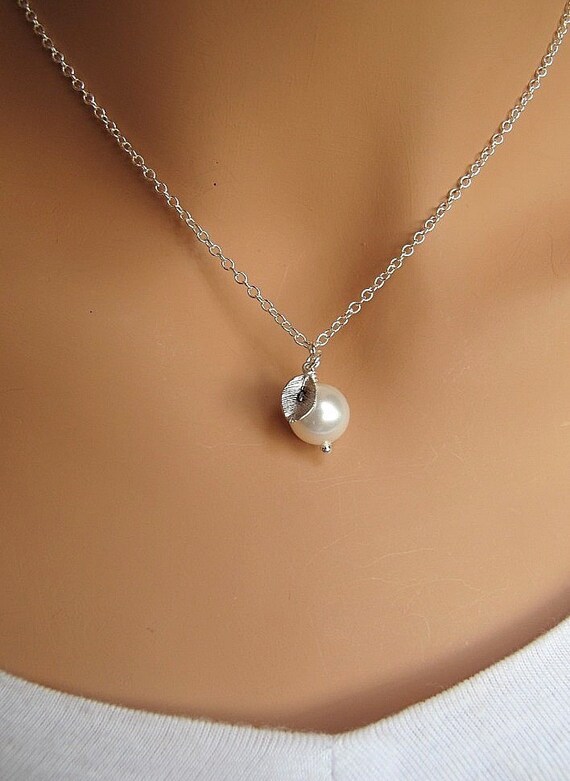
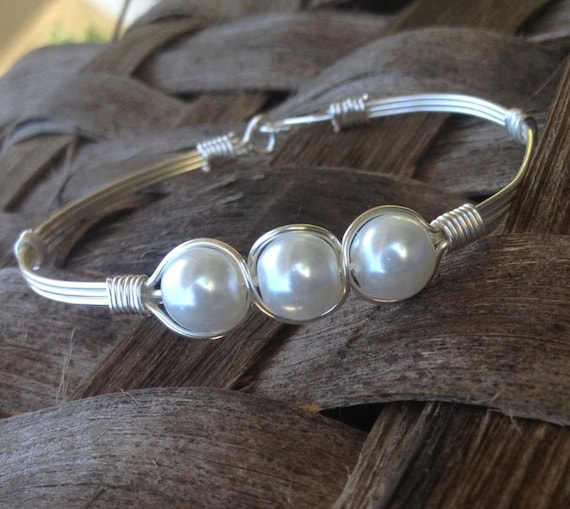
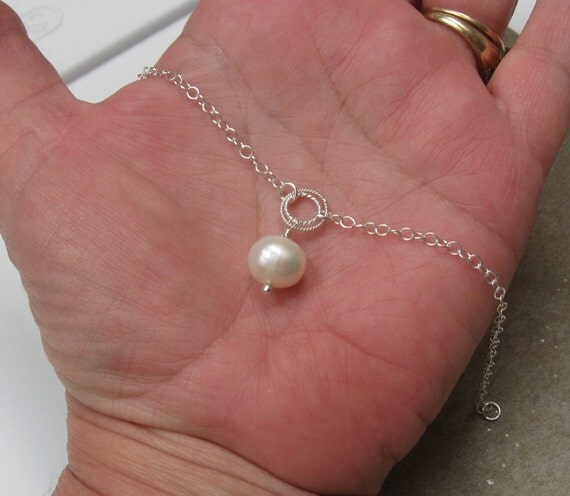
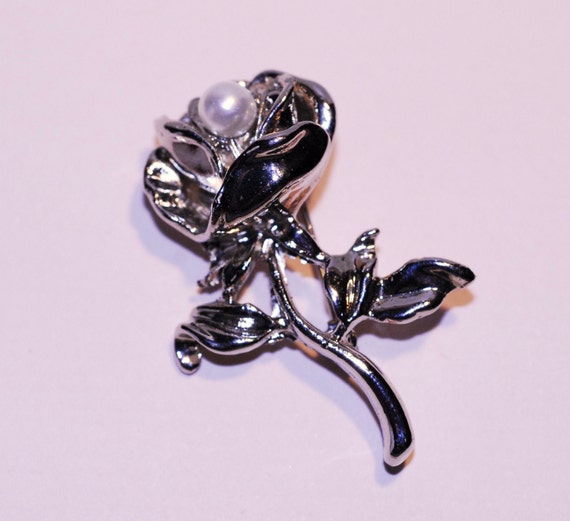
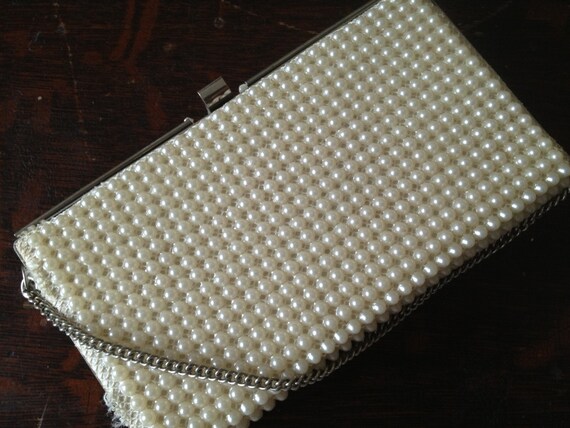
So in honor of shelled mollusks who give their live so women can look fabulous, here are my Favorites for this Friday: